 Advanced
Features
Advanced
FeaturesCarol Jones
Senior Technical Staff Member
IBM
May 1999
Introduction
WebSphere Studio has a lot of advanced features that you'll appreciate as your web project grows. There are special features in the Page Designer that help you create higher quality HTML documents. Studio also has very flexible publishing options that help you publish to complex server environments. And finally, there is built-in support for working in a team, including integration with most popular version control systems.
The remainder of this paper has the following sections:
- Advanced Page Designer Features
First, we'll tell you about some really useful HTML editing tools and techniques. - Advanced Publishing Options
Next, we show you how to publish to complex server environments. - Working with Version Control Systems
Then, we finish up by telling you how to use Studio with Version Control Systems.
Advanced Page Designer Features
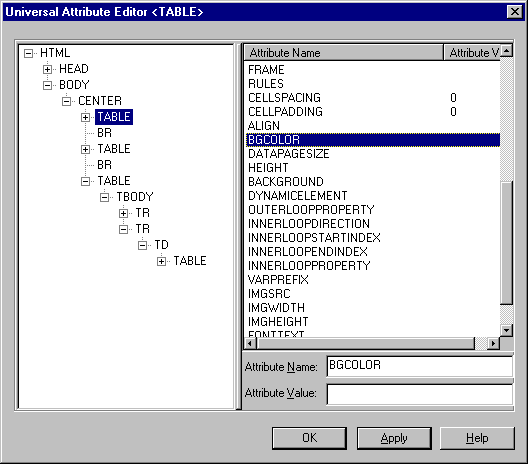
WebSphere Page Designer has a lot of built-in tools that help you write high-quality HTML code. In addition to editing the source directly, there is also a document map view, called the Universal Attribute Editor, where you can navigate through the document structure and set attributes for any tag.
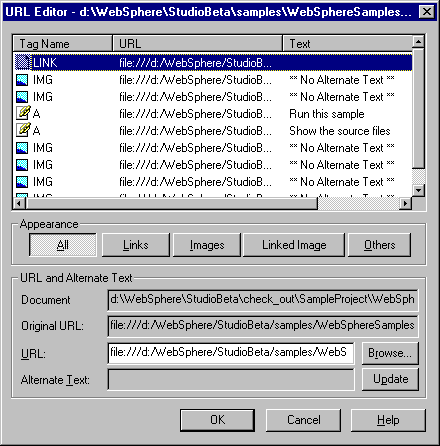
You can verify and fix up links using the URL Editor, correcting problems like missing ALT tags and the like.
Another common problem that the Page Designer can help you avoid
is missing WIDTH and HEIGHT tags on your images.
From the property sheet of the image, just click the Set Size button
to have the correct width and height computed for you.
There's also a syntax checker to make sure your document is valid HTML.
Studio has flexible publishing options that help you test and deploy your project to lots of different server configurations. Each configuration that you publish to is called a publishing stage.
One common way of working is to have a local HTTP server and Application Server running on your development system, with a Test stage that points to local folders as the publishing locations. In this configuration, Studio publishes by simply copying files and fixing up their links for your local directories. Since you might be publishing a lot while you are testing your work, you can turn on the "autopublish" option. This will silently publish each file as you change it, so your site is always ready to preview, without requiring you to choose publish from the menu or toolbar.
You can create additional publishing stages that publish to remote servers using FTP.
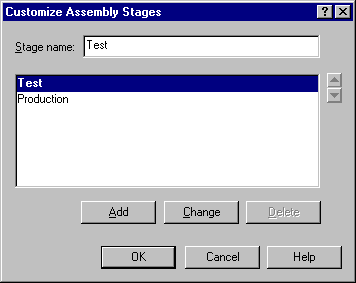
You can publish to more than one server in a single stage, which might be necessary if you are putting artwork on one server and other files on another server. If you are publishing to a cluster of servers, you can first publish to a single deployment server. Then, you can use IBM WebSphere Performance Pack's AFS feature to replicate the site's file structure to all of the servers.
You can also customize the rules that Studio uses to decide where files go in a stage. Normally, the file structure you use a development time exactly matches the file structure on your web server. But this does not have to be the case. For example, your webmaster might require that you publish files to a different location than the one you expected to use. Or you might have aliases or virtual directories defined for your web server.
Studio helps you deal with all of these advanced situations by allowing you to set up logical "publishing targets".
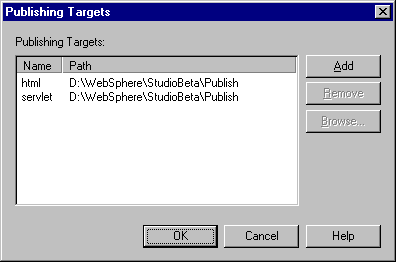
A publishing target is like an alias or virtual directory on an HTTP server. It maps a logic name to a physical location. Normally, a stage will have two publishing targets: one for your HTML documents, which maps to your HTTP server's document root, and a second one for your servlets and other Java classes, which maps to your WebSphere Application Server's servlets folder. You can define additonal targets, or change the locations of the default ones.
For even more flexiblity, you can map any file or folder to any publishing target.
Or, you can even drag and drop files in the publishing view to change the subfolders that they map to.
In short, you have full and exact control over where each file gets deployed.
Working with Version Control Systems
Studio has built-in support for teams of developers, allowing them to check-out and check-in their files to a shared file system. Looking at the File View, notice the check mark beside some of the files in the project.
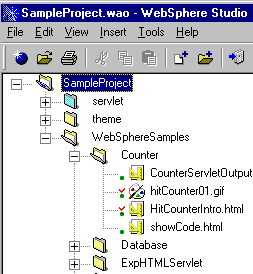
This indicates that the files are checked out. When you double click on a file to edit it, it is checked out to you automatically. To check it in, use the popup menu and select check in.
In addition to the shared file system, you can use the most popular version control systems to manage the files for your projects. The ones that Studio supports are IBM's Team Connection, Lotus Domino, PVCS, Rational ClearCase, and Microsoft Visual SourceSafe. To place a project under version control, select Tools=>Version Control=>Add to Version Control from the menu. All of the version control system installed on your computer will be shown in the menu list.
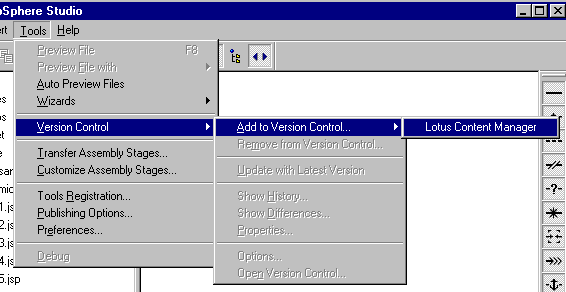
After you choose one, you will be prompted to fill in the information that is specific to your particular system and project. On this same menu, there are choices for other VCS functions, like undo check out, as well as options to show the checked out state of the entire project.