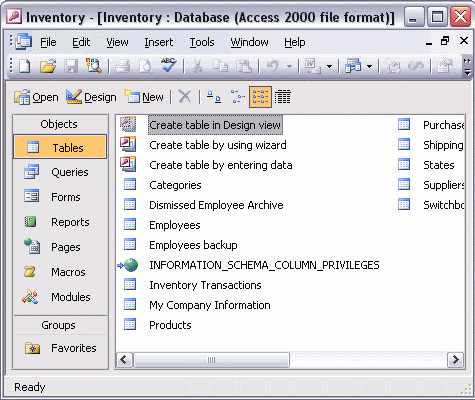


To create a table using the Table Design Wizard:
First, select the type of table you need: the Table Design Wizard has samples of both business and personal data. Then, select the sample table you want to use. Add the specific fields you want from the Sample Fields: list. Click the Next button to continue. Give your table a title that is meaningful to you. For now, we'll let Access set the Primary Key. You'll learn about Primary Keys in another task. In the next step of the wizard, notice the table relationships that Access has created for you. Click Next to go to the last step of the wizard. Select what you want to do next: modify the table design, enter data in Datasheet view, or create a data entry form based on the table you just created. Click the Finish button to end the wizard and finalize your table.