Code Generation
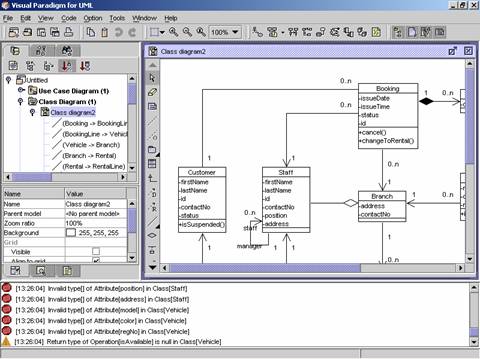
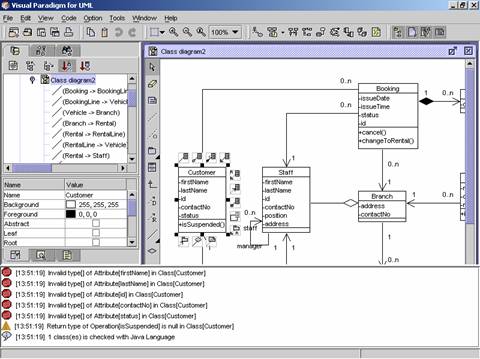
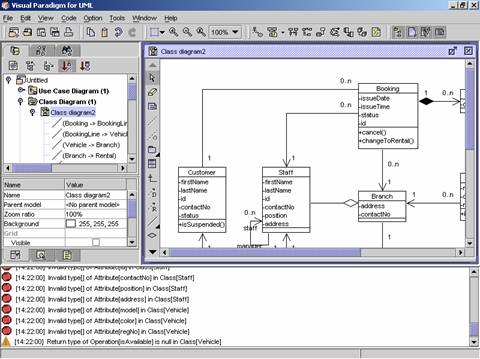
VPUML can check the UML syntax for java code generation. It checks the syntax for a project and display warning messages and error messages in the Log Pane.
The followings are situations that the Log Pane will display warning messages or error messages:
l A class inherits from multiple classes.
l A class is set to be final and interface at the same time.
l A class realizes another class or another interface.
l An interface extends a class.
1. To perform syntax checking for the current project, click on Code on the menu bar. The Code menu appears.
2. Click on Java on the menu. A cascading menu appears.
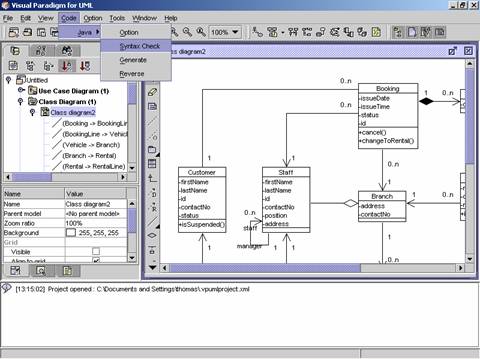
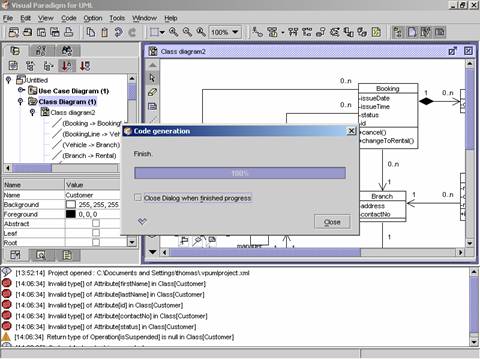
3. Click Syntax Check in the cascading menu. The Check model with Java syntax dialog appears to show the progress. (If the Code Engine Set Configuration dialog appears, click on the Code Generation tab and input the working directory in the Working Directory text field.)
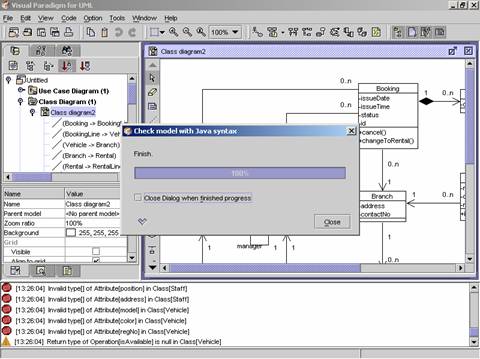
4. When the progress reaches to 100%, click on the Close button in the dialog. The warning messages and error message is shown in the Log Pane.
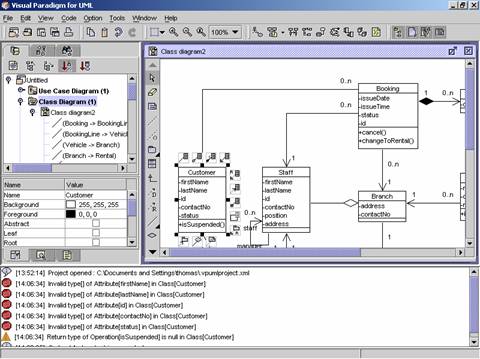
VPUML can check the UML syntax for java code generation for a signal class.
1. Click on an existing class on the class diagram. A popup menu appears.
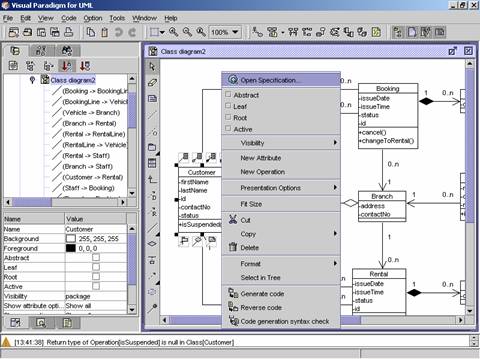
2. Click on the Code generation
syntax check button on the menu. The Check
model with Java syntax dialog appears to show the progress.
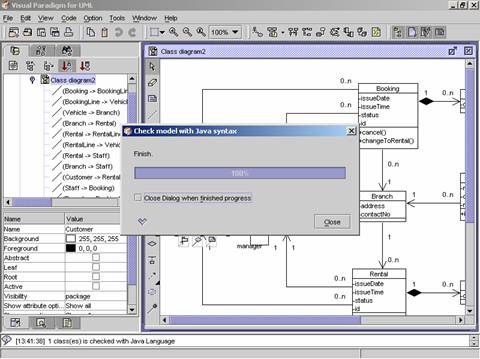
3. When the progress reaches to 100%, click on the Close button in the dialog.
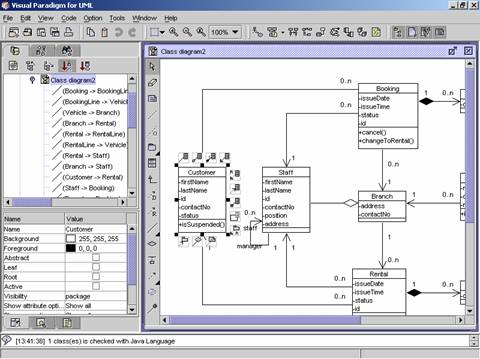
4. Adjust the height of the Log Pane (if needed) to see the warning messages and error messages.
VPUML can generate Java code for the class models in a project.
1. Click on Code on the menu bar. The Code menu appears.
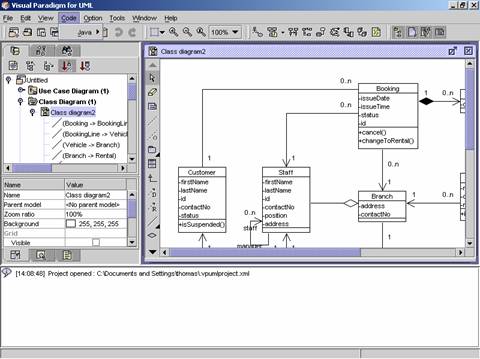
2. Click Java in the menu. A cascading menu appears.
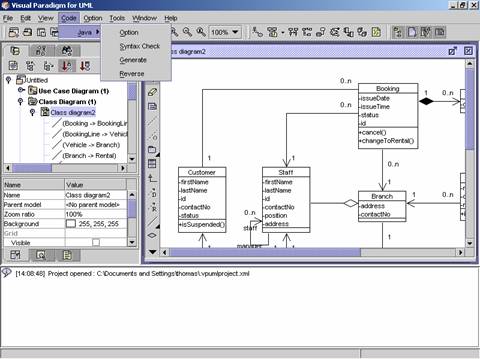
3. Click on Generate on the cascading menu. The Java Code Generate Options dialog appears.

4. Click on the Default attribute type combo box. A list of attribute type appears.
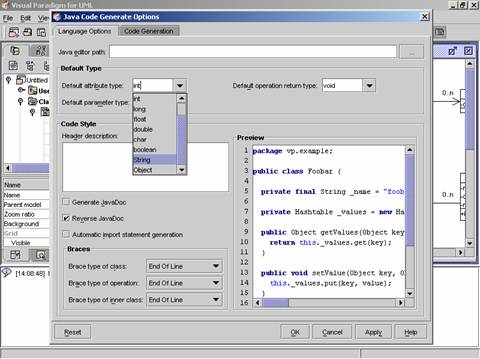
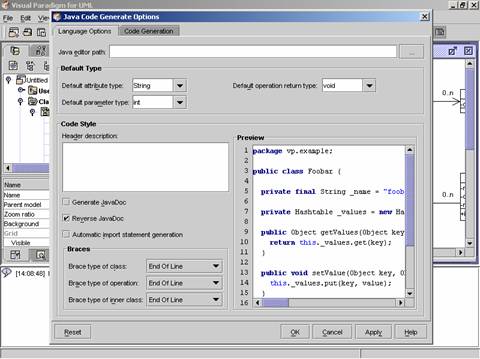
5. Select one of the attribute type in the list.
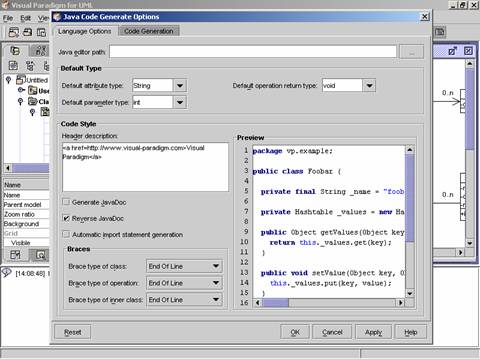
6. To add Java documentation to the header in class files, input the documentation in the Header description text pane.
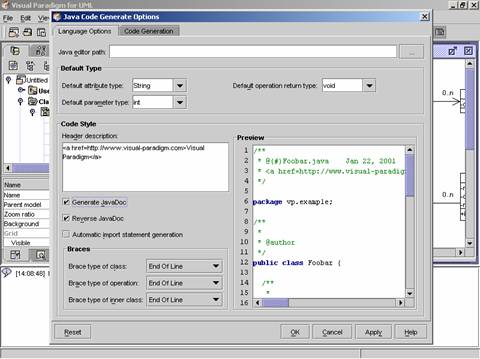
7. Check the Generate JavaDoc check box. The Preview text pane is updated. The JavaDoc is added to the sample source.
8. To generate import statement in the source, check the Automatic import statement generation checkbox. The Preview text pane is updated. The import statements are added to the sample source.

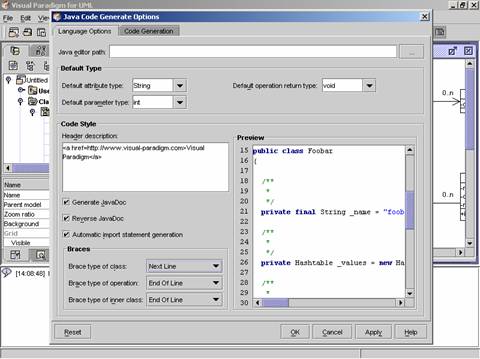
9. To set the brace style of the source code, click on the combo boxes in the Braces frame. A list of style appears.
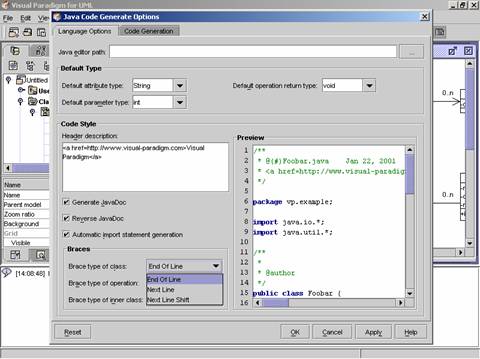
10. Select one of the brace style. The source code in the Preview text pane is updated.
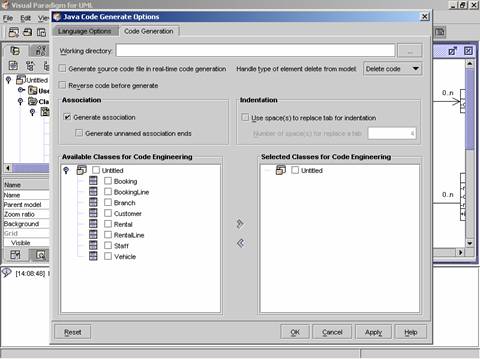
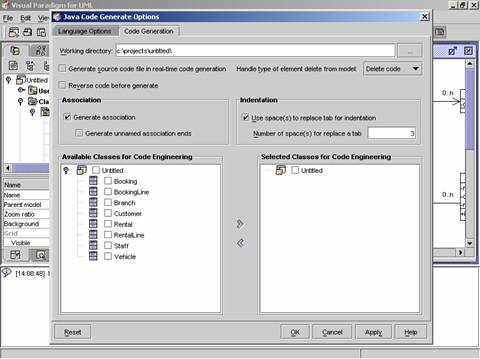
11. Click on the Code Generation tab.
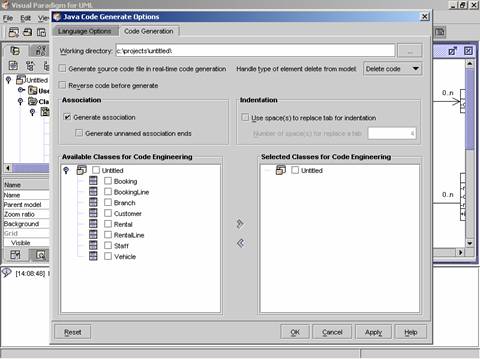
12. Input the working directory in the Working directory text field for code generation.
13. Set the other code generation preferences.
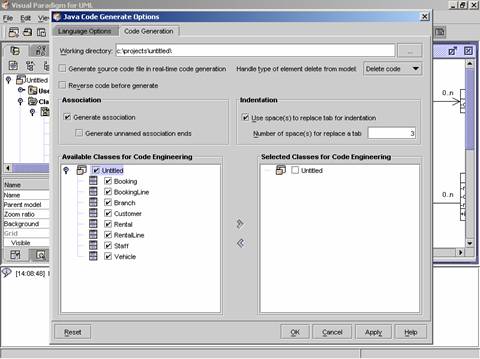
14. Check the check box of the project in the Available Classes for Code Engineering frame. All the check boxes of the class models are checked.
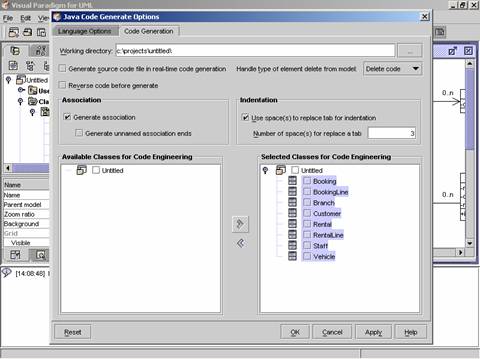
15.
Click on the ![]() button to add the class models in the Selected Classes for Code Engineering frame
for code generation.
button to add the class models in the Selected Classes for Code Engineering frame
for code generation.
16. Click on the OK button in the dialog to close it. The Code generation dialog appears to show the progress.
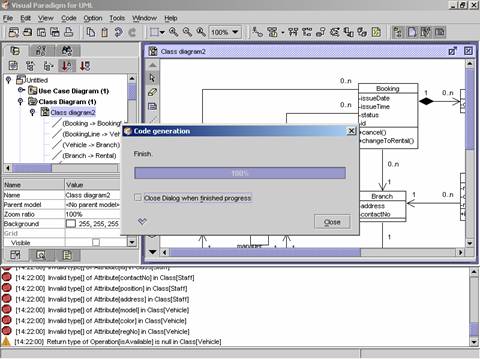
17. When the progress reaches 100%, click on the Close button in the dialog to close it. The Code Preview dialog appears.
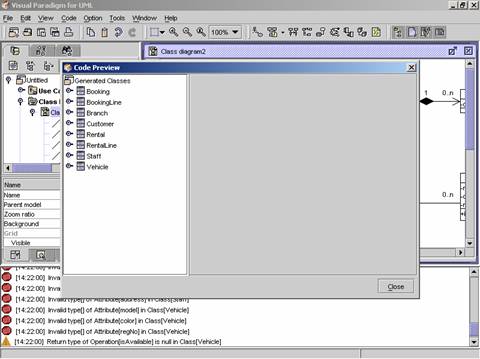
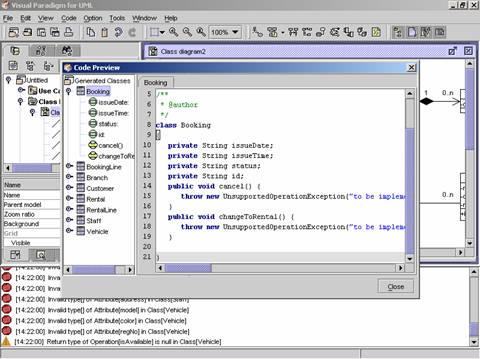
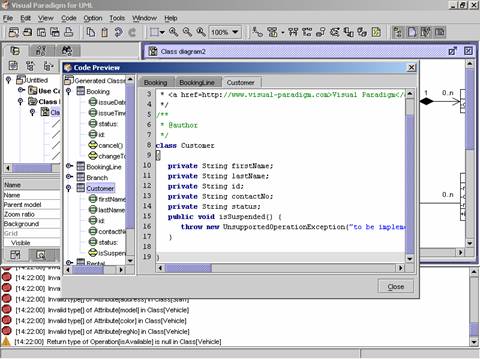
18. A list of classes is shown in the Generated Classes tree. Click on one of the class in the tree. The Java source generated is shown.
19. Click on the Close button in the Code Preview dialog to close it.
1. To generate Java code for an existing class in the class diagram, right click on the class. A popup menu appears.
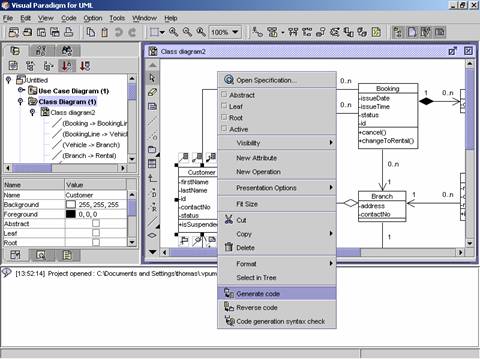
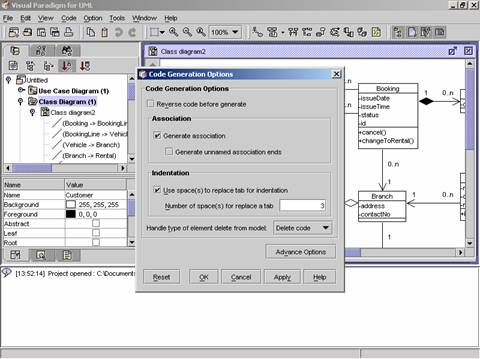
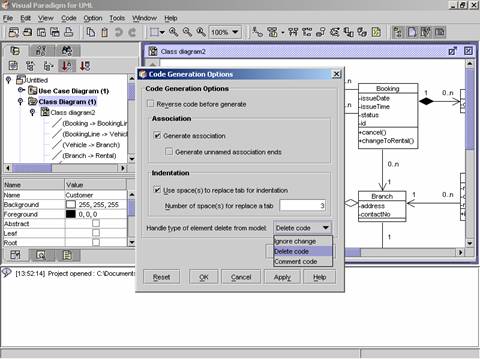
2. Click on Generate code on the popup menu. The Code Generation Options dialog appears.
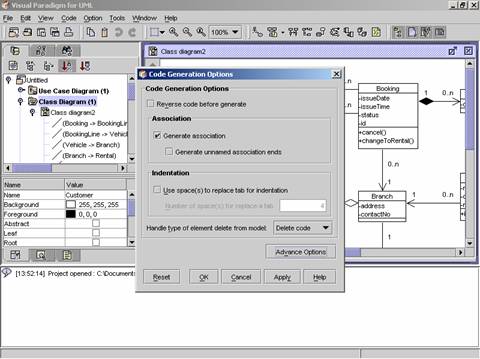
3. Set the preferences for code generation. Click on the OK button in the dialog to close it.
4. The Code generation dialog appears to show the progress.
5. When the progress reaches to 100%, the source code is generated for the class. Click on the Close button in the dialog to close it.
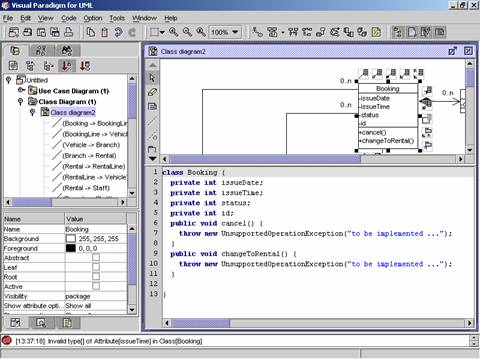
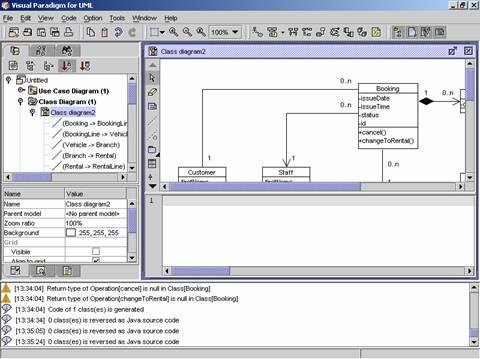
1. Open an existing project and open a class diagram in the project.

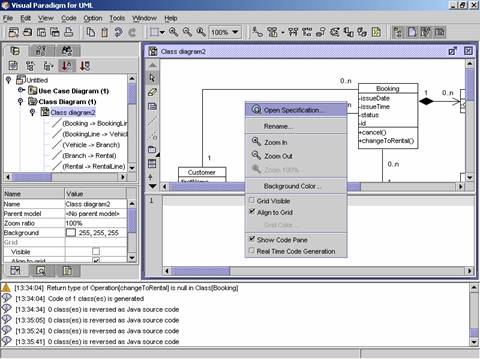
2. Right click on the class diagram. A popup menu appears.
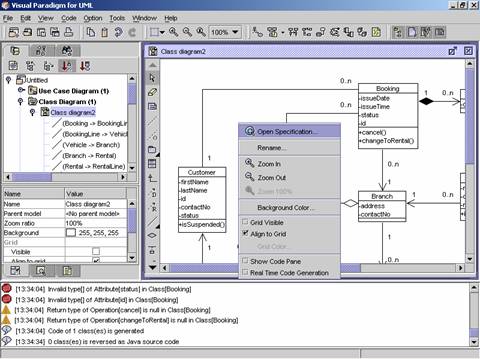
3. Check the Show Code Pane check box in the popup menu.
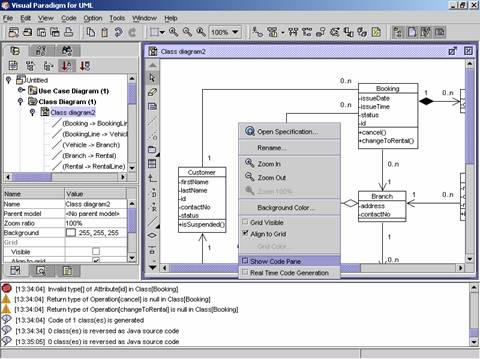
4. The Code Pane is shown.
5. Right click on the class diagram. A popup menu appears.
6. Check the Real Time Code Generation check box.
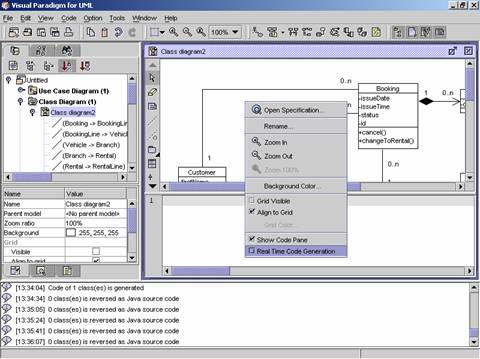
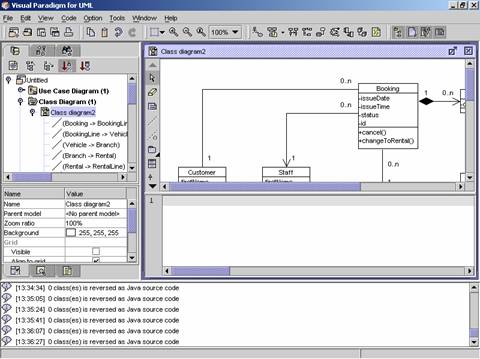
7. Click an existing class in the class diagram. The code is generated for the class and shown in the Code Pane.
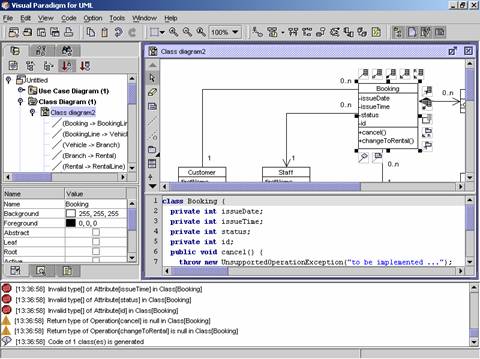
8. Adjust the Code Pane (if needed) to see the generated source code.