Print Preview Window
Print Preview Window

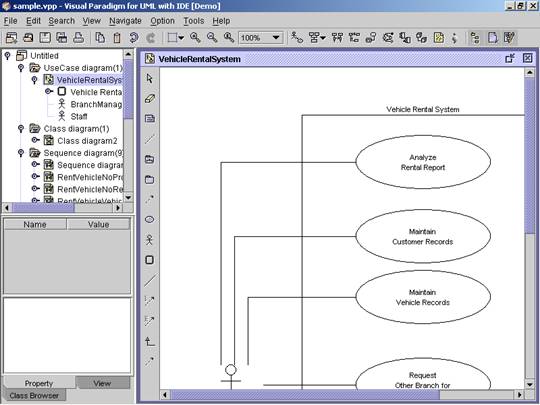
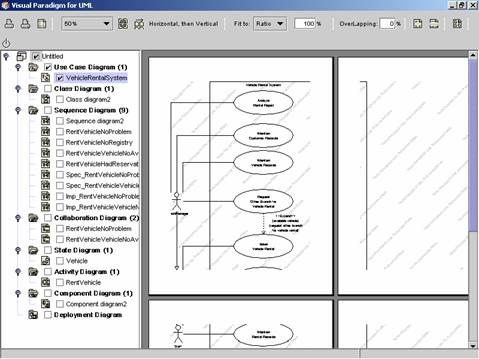
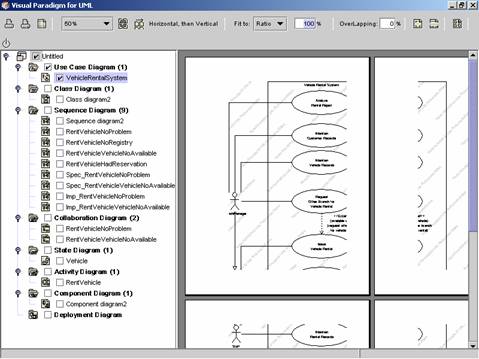
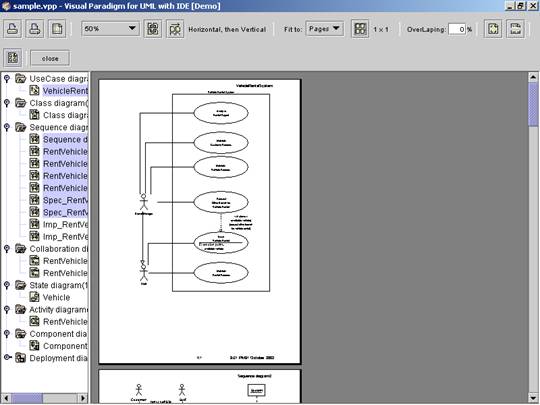
![]() Figure 16.1 Visual Paradigm for UML with IDE
Figure 16.1 Visual Paradigm for UML with IDE
1.
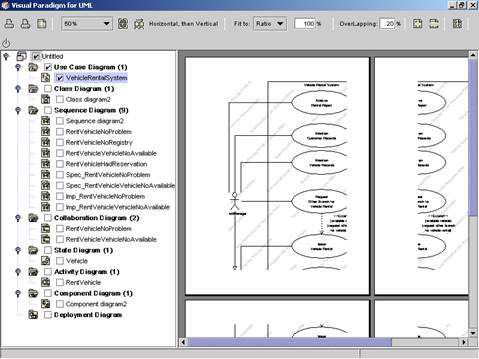
Click on File on the main menu. Click on Print... under the file menu. Alternatively, click on the Print ![]() icon on the toolbar. The Print Preview
Window appears.
icon on the toolbar. The Print Preview
Window appears.
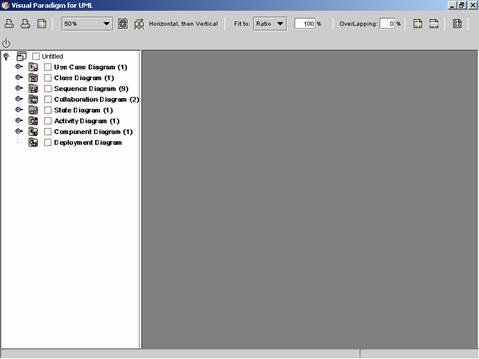
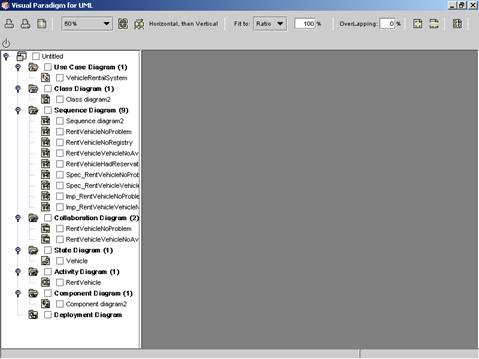
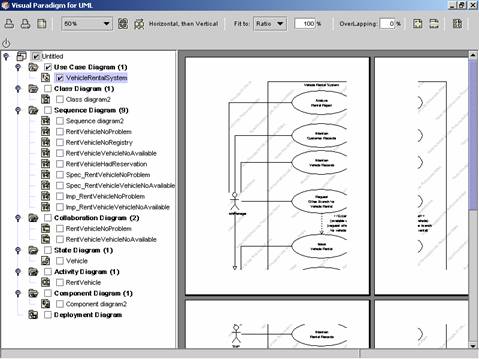
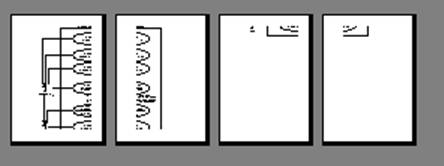
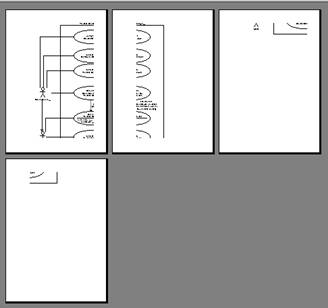
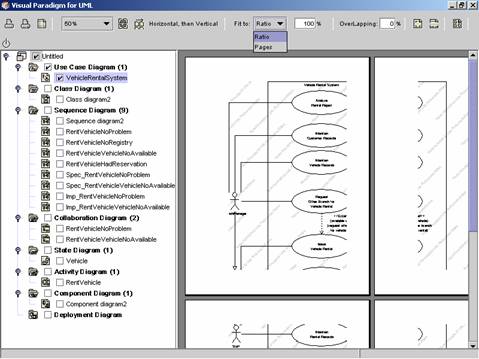
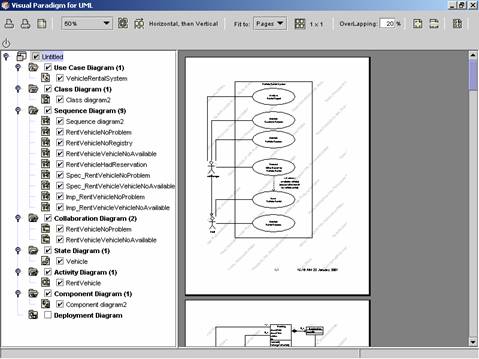
![]() Figure 16.2 The Print Preview Window
Figure 16.2 The Print Preview Window
The Print Preview Toolbar
|
|
||
|
Icon |
Notation |
Definition |
|
|
Print |
Print the selected diagrams. The Print dialog box appears. |
|
|
Setup Page |
Set the page properties for printing the diagrams.
The Setup Page appears. |
|
|
Adjust Margin |
Adjust the margins of the pages. The margins can be
edited by inputting the value in the text boxes in the print preview area or
dragging the margin lines on the page. |
|
|
Zoom Pages |
Zoom in/out the diagrams. |
|
|
Paper Base Layout |
Set the paper shown horizontally or vertically. |
|
|
Paper Place Style |
By default, the setting is ��Horizontal, then
Vertical�� �V the pages will be shown horizontally
��Vertical, then Horizontal�� �V the pages will be
shown vertically.
|
|
|
Fit to Ratio |
Set the diagram size to fit into specified ratio. |
|
|
Fit to Pages |
Set the diagram size to fix into page(s).
|
|
|
Overlapping |
To adjust the percentage of the margin of the pages
to be duplicated for printing. |
|
|
Show Image Clip Mark |
Show the clip marks that surround the diagrams in
pages. |
|
|
Edit Header/Footer |
Edit the header/footer of the pages. The print
preview area appears with Multi Page Options. You can insert the auto text below:
|
|
|
Multi Page Mode |
Set number of pages and the page style to be printed
in a sheet. |
|
|
Close |
Close the print preview window and switch back to
VPUML. |
![]() Table 2 The Print Preview Toolbar
Table 2 The Print Preview Toolbar
1. To print diagrams, check the check boxes of the desired diagrams in the Project Explorer. The print preview area will show the selected diagram.
2. Click
on the Print button ![]() on the toolbar. The Print dialog box
appears.
on the toolbar. The Print dialog box
appears.
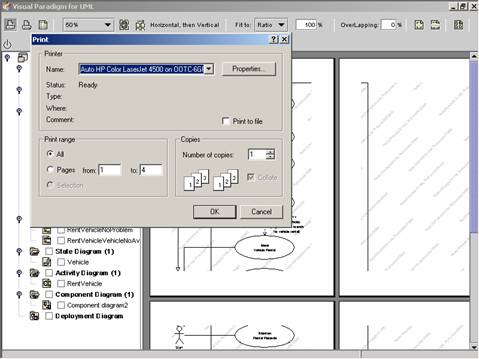
3. Click OK in the Print dialog box. The diagrams will be printed.
1.
Click on the Print button ![]() on the toolbar. The Print dialog box appears.
on the toolbar. The Print dialog box appears.
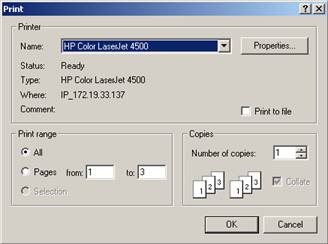
2. Set the pages and the number of copies to be printed. Click OK to print the diagrams.
1.
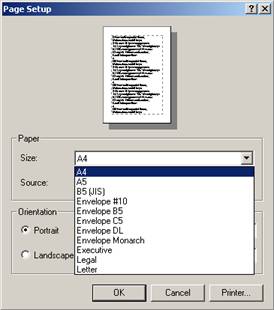
Click on the Setup Page button ![]() on the toolbar. The Page Setup dialog box
appears.
on the toolbar. The Page Setup dialog box
appears.
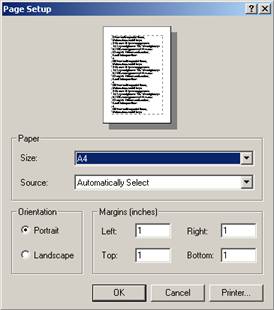
2. Click on the Size pull-down box to select the paper type. The page view will be updated.
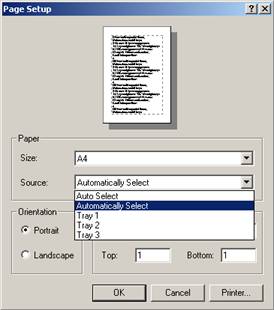
3.
Click on the Source combo box to select the paper
source.
4. Click on either the Portrait/Landscape Orientation. The page view will be updated.
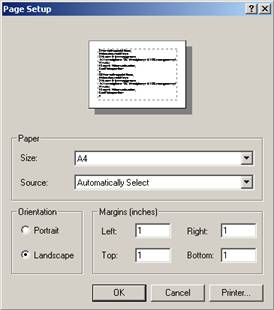
5. To set the Margins of the paper, click on the Left, Right, Top or Button text box and input the corresponding margin sizes. The page view will be updated.
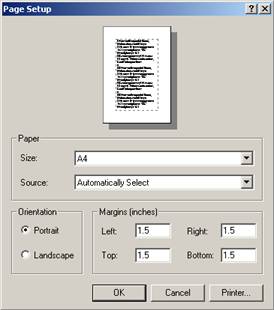
6. Click on OK to confirm the settings or click on Cancel to undo the settings.

1.
Click on the Adjust Margin button ![]() on the toolbar. The preview area shows a
blank paper and the margins of the paper.
on the toolbar. The preview area shows a
blank paper and the margins of the paper.

2. Edit the margins with the text boxes �V Header, Footer, Top, Bottom, Left and Right. Alternatively, you can drag the margin lines on the paper to adjust the margins.

3.
Click on the Adjust Margin button ![]() on the toolbar again to preview the
diagram. The margins will be updated.
on the toolbar again to preview the
diagram. The margins will be updated.

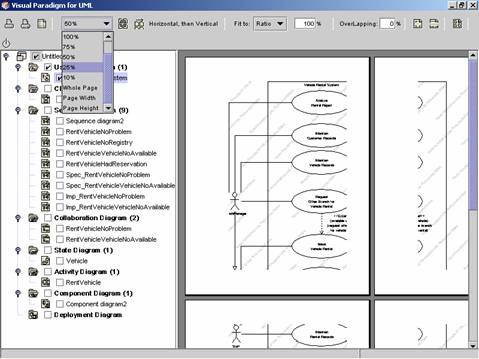
1. Click on the Zoom Pages pull-down box to select the zoom percentage. The preview area will be updated.
1.
To set the diagram base layout in the
preview area, Click on the Diagram Base
Layout button ![]() on the toolbar. The layout is changed.
on the toolbar. The layout is changed.
Set Paper Place Style
By Default, the place style is ��Horizontal, then Vertical��. The place style can be set to ��Vertical, then Horizontal��.
1.
Click on the Paper Place Style button ![]() on the toolbar to set the place style.
The style is now set to ��Vertical, then Horizontal��.
on the toolbar to set the place style.
The style is now set to ��Vertical, then Horizontal��.
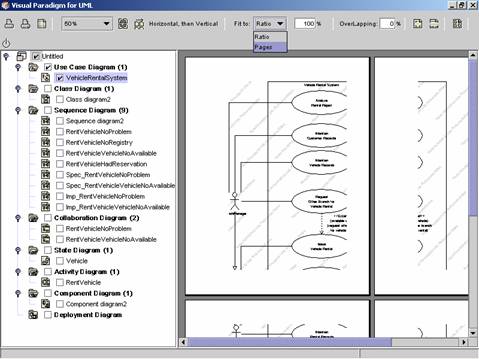
1. Click on the Fit to pull-down box to select the Ratio for fitting the diagram with ratio.
![]()
2. Input the ratio, for example 50%, in the Ratio text box. The diagrams in the preview area will be updated.


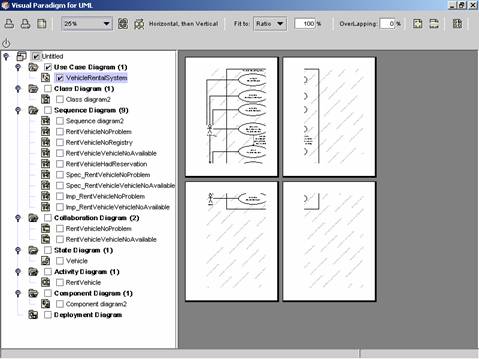
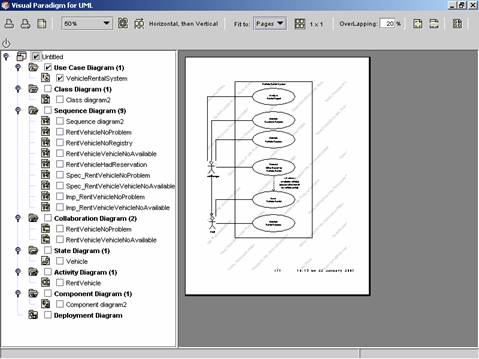
1. Click on the Fit to pull-down box to select Pages for fitting the diagram with pages.
![]()
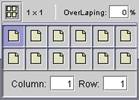
2.
Click on the Fit to Column and Row button ![]() on the toolbar. The page layout selector
appears.
on the toolbar. The page layout selector
appears.
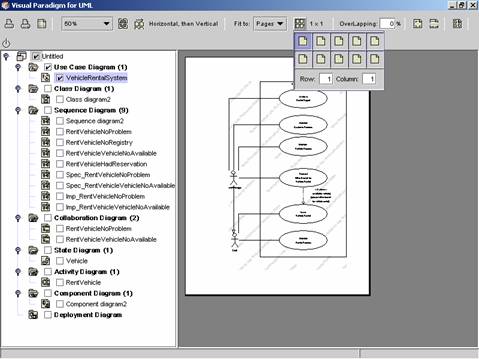

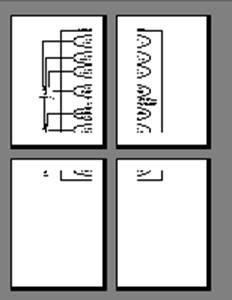
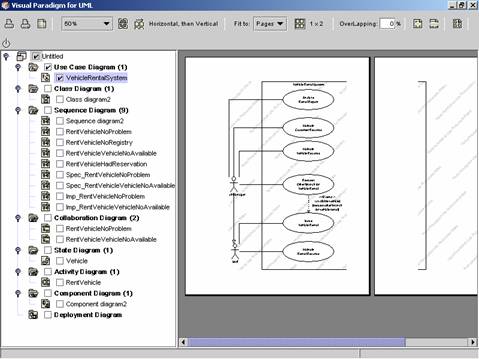
3. Move the mouse cursor to select rows and columns. Then click on the selected cell. The diagram will be cut into (row x column) pages.

1. Click on the Overlapping text box to input the over lapping percentage, 20%. Then press Enter. The pages will be updated in the preview area. The diagram image near the margin will be duplicated.
![]()

1.
Click on the Show Image Clip Mark button ![]() on the toolbar. The diagrams will be
surrounded by the clip mark in the pages.
on the toolbar. The diagrams will be
surrounded by the clip mark in the pages.


1.
Click on the Edit Header/Footer button ![]() on the toolbar. The Header/Footer editor
appears.
on the toolbar. The Header/Footer editor
appears.
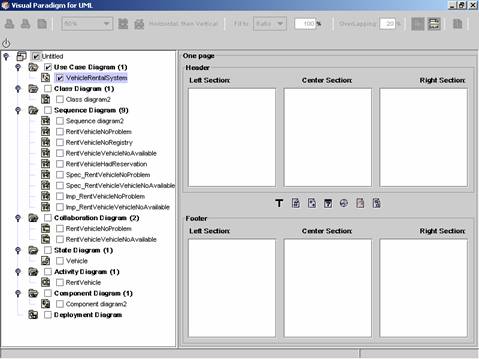
2. Input the header and footer for the pages.
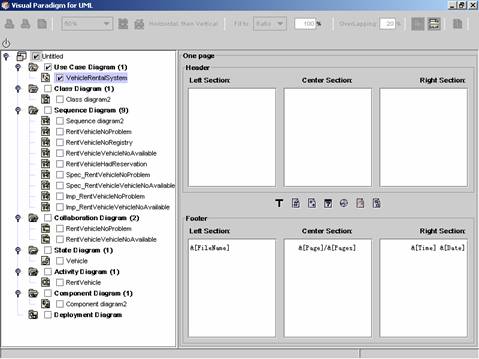
3.
Click on the Edit Header/Footer button ![]() again. The Header/Footer editor is closed.
The header and footer text are added to the pages.
again. The Header/Footer editor is closed.
The header and footer text are added to the pages.

1. Press Ctrl and select more diagrams.
2. Click on the Multi Page Mode button ![]() on the toolbar. The preview area with
Multi Page Options appears.
on the toolbar. The preview area with
Multi Page Options appears.
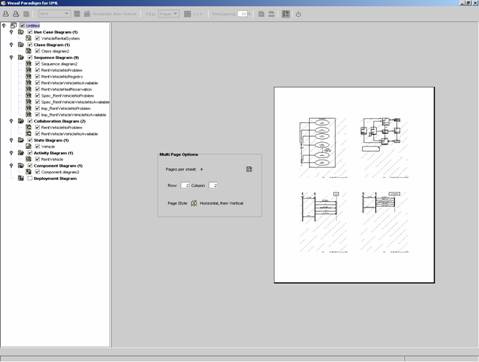
2.
Click on the page layout
selector ![]() on the toolbar. Select the rows and
columns.
on the toolbar. Select the rows and
columns.
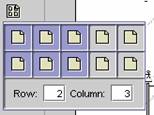
3. Then click on the selected cell. The preview area will be updated. A sheet now contains (rows x columns) pages.
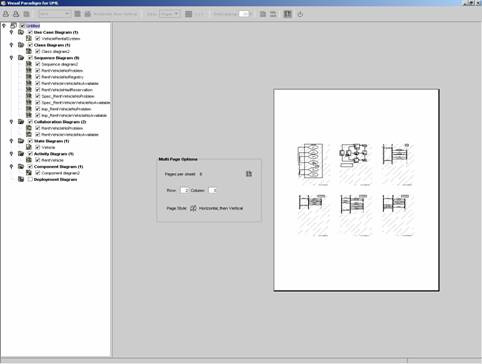
4.
Click on the Page Style button ![]() to change the page style. The print
preview area will be updated.
to change the page style. The print
preview area will be updated.

5.
Click on the Multi Page Mode button ![]() again to exit the multi page mode.
again to exit the multi page mode.

1.
Click on the Close button ![]() to close the Print Preview Window and
switch back to the VPUML.
to close the Print Preview Window and
switch back to the VPUML.